Sunday, December 10, 2006

14: Lumber

Alright, I posted about earthbags and windows yesterday, but I've been kind of behind about posting so here's another one.

I spent a good portion of this past week gathering materials for the next phase of the project - framing in the walls/roof. For the walls I'm doing a combination of traditional balloon framing and then platform framing with rake walls. I'll get more into the layout of the walls in another post, but suffice it to say now that I need a good bit of materials to build said walls and roof, and the key part is that I need a couple pieces of 12 foot 2x6 for the top and bottom plates. The rest of the lumber I need is shorter, and thus easier to come by.

So, there's this guy named Jim Steinmetz who works out of Portola Valley operating a business called Reusable Lumber, where he goes in and salvages/demolishes houses and other buildings, and then sells the useable materials out of those buildings. Very cool. His website is www.reusablelumber.com, if anyone wants to check it out.

Anyway, he will often be able to sell most of a specific type of lumber that he has salvaged out of something, but then have a few pieces (ten or fewer) left over that were not needed for whatever reason. A lot of this lumber just ends up getting stashed away somewhere at one of his storage sites, and often never gets sold. Magic, however, can often use random pieces of lumber, so Jim is often willing to donate lumber to Magic.

Fortunately for me, Jim just happened to have about eight 16 to 18 foot pieces of rough-sawn doug fir 2x6 (actual 2 by actual 6) lying around. I think I remember him saying that they were rafters salvaged out of a pre-1900 farm house, but in any case they are beefy and straight old-growth wood, the kind that you would have to pay a fortune for if you were to go to a lumber yard. Here's what a couple of them look like:


After securing sufficient long 2x6 to make the plates, I also needed a bunch of shorter 2x6 for the wall studs. Unfortunately, Jim didn't have any extra 2x6 lying around other than what I took, so I had to get it from another place. Conveniently enough, there is another salvage building material place that is run out of East Palo Alto called Whole House. They are much more aimed at the consumer level rather than the wholesale level like Jim, so I wasn't going to get anything for free, but at 15 cents a foot for nice straight 2x6, its not a bad deal. They are also super helpful, and for those who are interested their website is: driftwoodsalvage.com

Anyway, I picked up twenty 2x6 between 8 and 10 feet long, and then managed to find a bunch more shorter 2x6 to use for cripples and trimmers in the Magic lumber pile. Here's a photo of all the wood I pulled out/purchased, stacked and ready for the framing to begin:


And finally, this nice period of dry weather we've been having is coming to an end, and now the real rainy season is starting, so I managed to find a 22x15 foot blue tarp lying around at Magic, and strung it up over the foundation to provide some shelter from the rain. I apologize, but this means that for a while at least, most of the photos I post will be kind of blueish and darker, since the tarp also filters out a lot of light. Anyway, here's a photo of the pitched tarp:


Ok, that’s all for now.

Saturday, December 09, 2006

13: Earthbags (Part 2), and windows

I haven't posted in a while, but now I've got quite a few photos to put up. First off, I had to finish off the earthbags to complete the foundation. I spent the good part of an afternoon tamping them level and flat, which is kind of tricky. While I have no photos of the actual tamping (I was working alone), here is my attempt at suggesting the activity of tamping:


And checking for level using the big 6-foot level. It’s always nice when you can get it right in the sweet spot like this:


Making sure that the bags are all flat and even the length of the wall:


And, lastly, the final, fully tamped foundation:


I just wanted to make a clarification about what I was doing with the contractors plastic, since Kelly Hart (well-known earthbagger) made a comment about it in my last post. The plastic does not completely wrap the earthbags - it covers a little over half of them. Basically it separates the earthbags from the rubble to prevent wicking, and then comes up the outside and wraps about halfway over the top of the bags, under where the 2x6 plate will go. On the inside it just lays flat and extends out about 5-inches under the gravel. Thus, about half of the earthbags are not covered in plastic and will be able to breathe/dry out if they get wet. In one of the photos from my last post the plastic is pinned up on the inside of the bags, but that was just temporary so that I could clean out the inside a bit before laying the gravel. I unpinned and lay the plastic flat before putting the gravel into the middle. Hopefully this isn't too confusing, but I didn't get a good photo of it before the gravel went in.

Anyway, the next day, my friends Deb and Miko came back over to help for the morning, and we went to the garden supply yard to get some more volcanic gravel. It’s a fun place to go, since the guys who drive the front end loaders are surgical with those things - its really amazing to watch. They load tons and tons of gravel/dirt, and not one grain of it makes its way onto the pavement... This is what one cubic yard of volcanic gravel going into the back of a pickup looks like:


We took the gravel back and wheelbarrowed it to fill in the area enclosed by the earthbags. It will be the subflooring for the polished adobe floor, providing a solid flat surface, good drainage, and a measure of insulation (because of all the air gaps trapped in the volcanic rock). Here's Miko and Deb (looking very serious) after we've finished spreading it:


Deb had to go to class, but then Miko helped me prepare the windows for the rest of the afternoon. The windows were salvaged out of a house nearby where the lady who owned the house decided to replace all her windows, and then just a year later she decided to level the whole house and rebuild from scratch. Some of the Magic folks went and salvaged all the very nice windows, along with a bunch of other materials, and have been storing them for about three years, waiting for an opportunity to use them. Then, I come along, and lucky me get to have my pick of many thousands of dollars worth of essentially brand new double pane windows, which is pretty cool.

I'm going to put in four windows (one for each wall), which is a lot of glass. But when you've got as many big, high r-value windows as you want at your disposal, why not? Here's a photo of the biggest window (4x7ft):


And here's Miko (looking like a sneaky ninja) cleaning up the second biggest window (3x6ft):


The other two windows are both 3x4 feet. Another thing to note is that the are vinly windows, which is a good way to illustrate the difference between green building and healthy/natural building. The windows are about as green as you can get (high r-value, double pane, locally salvaged), but they are not all that healthy/natural, since the frames are made from a plastic that can offgass and leach some pretty nasty stuff (phthlates, vinylic compounds, halogens, etc.). Fortunately for me, however, they have already been sitting around for about 4 years (1 installed, and 3 in the backyard of Magic), so they have probably done most of their offgassing/leaching. There definitely are some tradeoffs, but overall they are pretty sweet windows, and its pretty hard to complain when they are free and in such good condition.

Wednesday, November 29, 2006

12: Earthbags

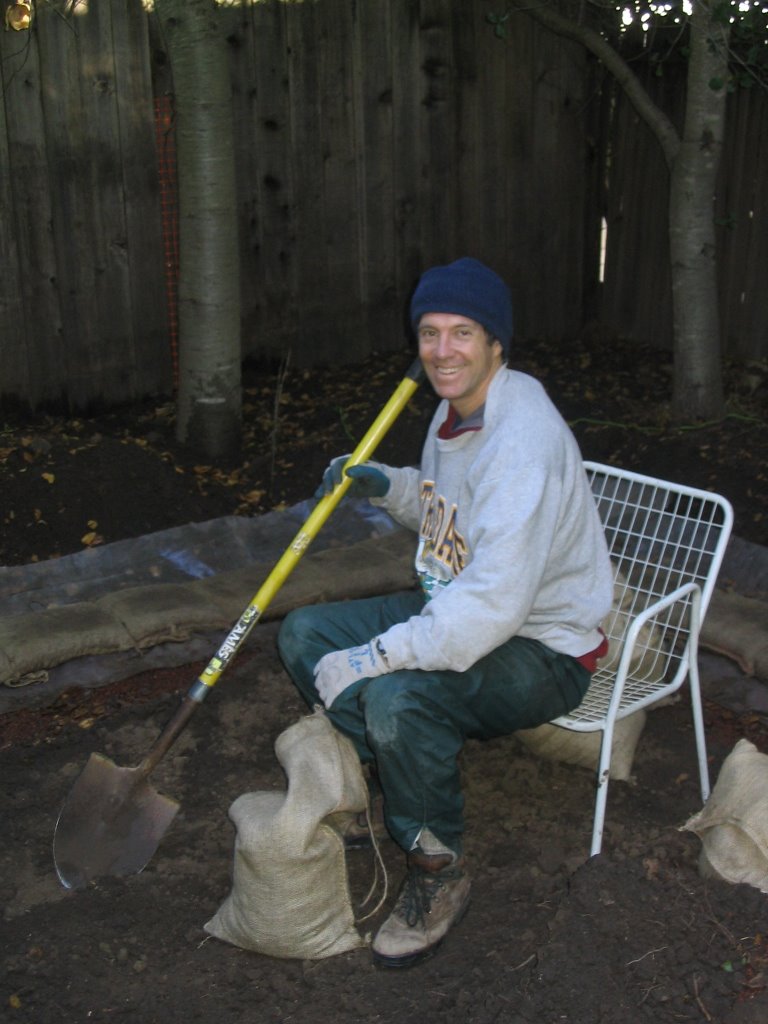
I got both courses of earthbags in yesterday, which constitutes good progress. My housemate Jeff came and helped me for a while - here's a photo of him filling a bag:


And yes, it was cold yesterday...

So, why again the earthbags? Well, they do two things: provide a flat surface to put the wooden part of the wall on (the wood wouldn't sit very well straight on the rubble), and they separate the wood from the ground, which should prevent moisture issues.

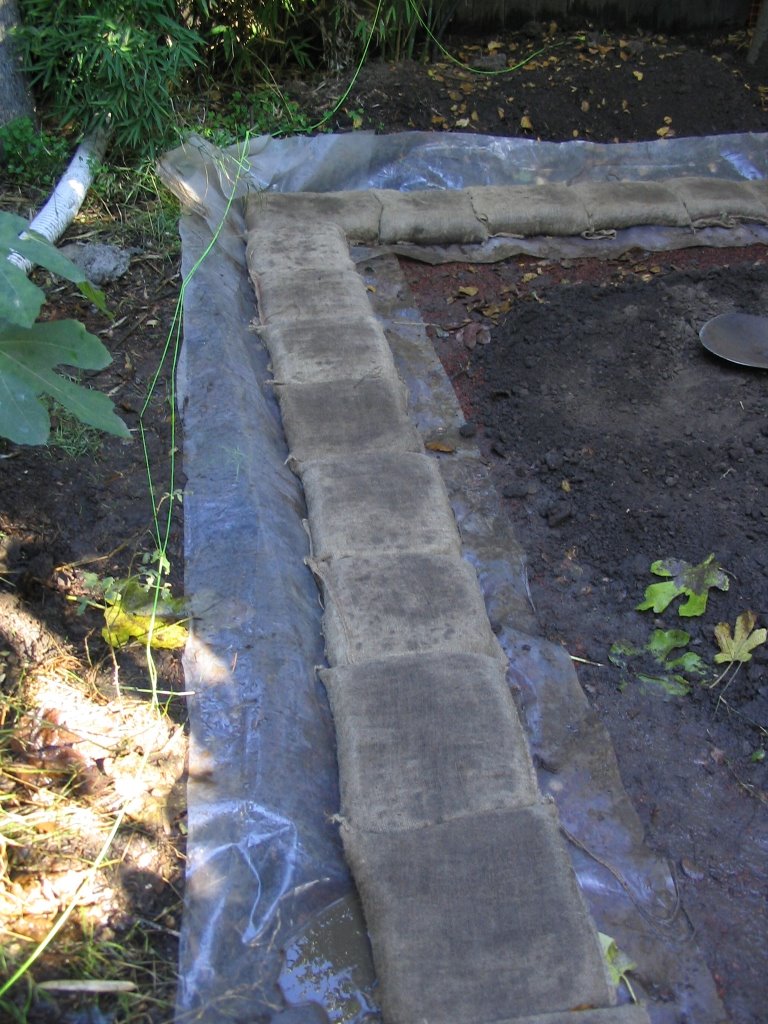
Here's a photo of the first course of earthbags after wetting them with a hose and tamping them flat:


The contractors plastic under them will wrap up around the sides to truely separate the bags from any water coming from below. Its pretty thick plastic either 6 or 8 mil, I think. Also, it doesn't matter too much whether the earthbags align absolutly perfectly - I placed them so that the extended about 2 inches outside the string lines, and will get the building perfectly square when I put the 2x6 plates down.

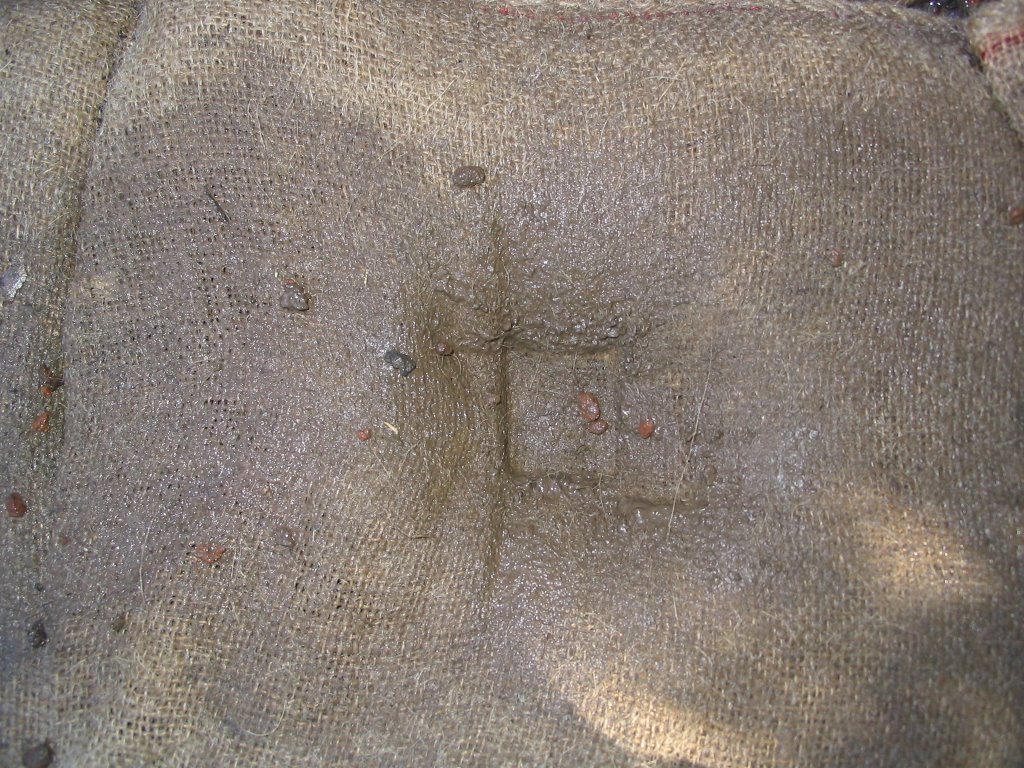
After tamping the first course flat, I went around with a piece of 2x2 and made dimples in each of the bags. When I tamp the second course of bags, the top layer will fill the dimples and help lock the bags in place. Each dimple was about 1-1.5 inches deep. Here's a photo:


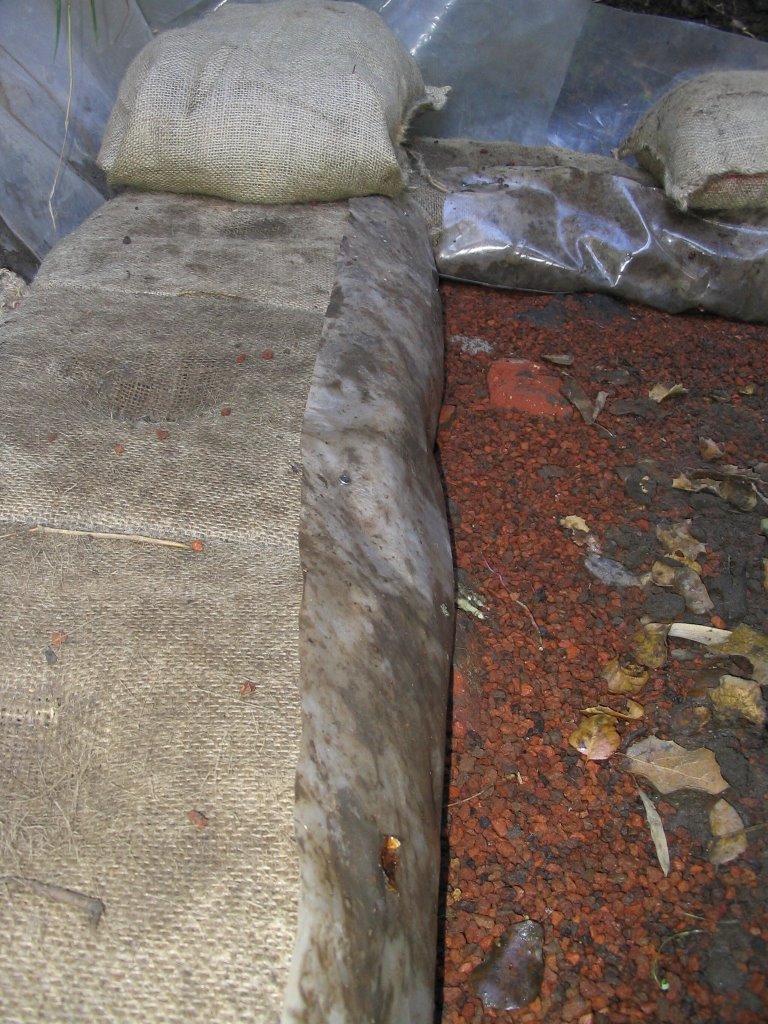
Here's a photo of the first course with some of the untamped second course sitting on top. I put the second course down in running bond (staggering the joints), and you can see that I've wrapped the inside plastic up and pinned it to the first course with nails:


I'll get a photo or two of the completed second course and add it here later, but for now thats all.

Saturday, November 25, 2006

11: Gratuitous climbing photos

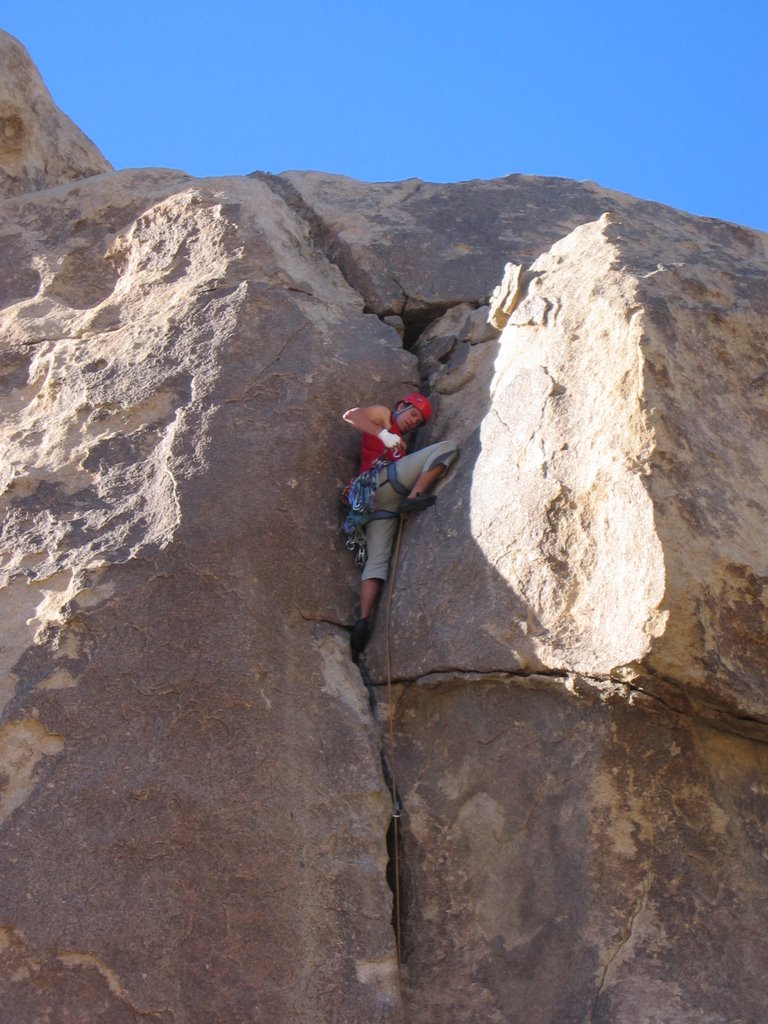
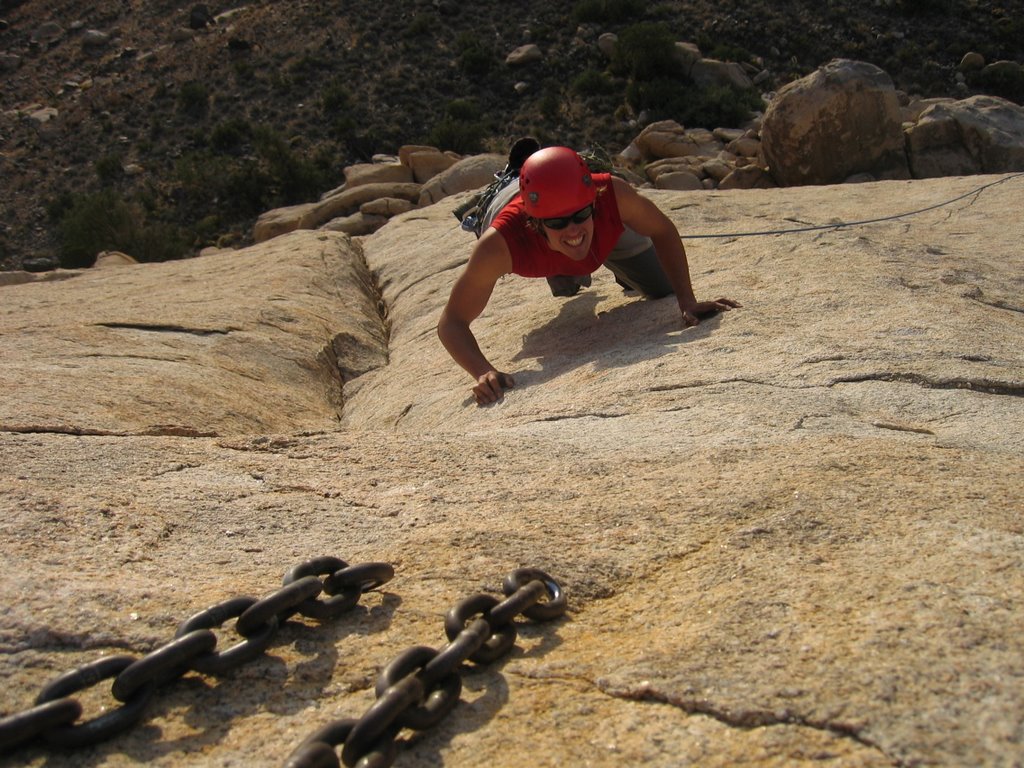
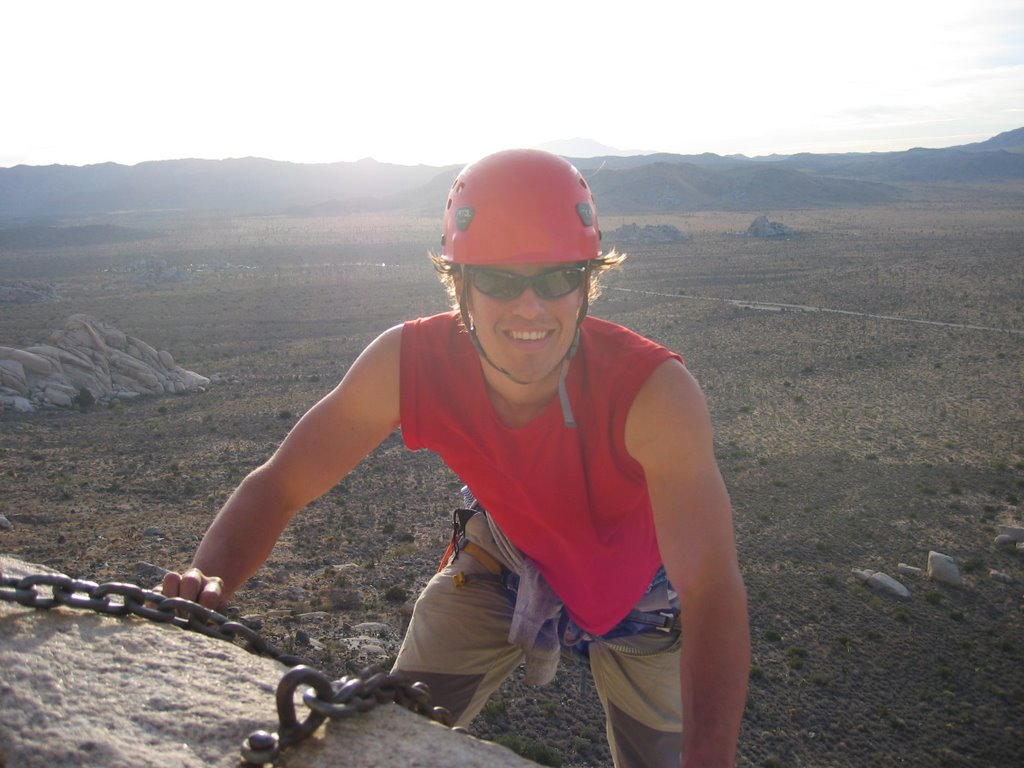
Just because. All from my week-long climbing trip to Joshua Tree NP over Thanksgiving.

Leading "Touch And Go" (5.9):


Leading "Walk on the Wild Side" (5.7+):


Topping out "Walk on the Wild Side":


All photos taken by my buddy Jared.

10: Prepping for the earthbags

With the rubble trench finished, its time to start getting ready to place the earthbags. The theory behind the earthbags is that you fill them with moist adobe soil, lay them into place, and then tamp them down flat, generally with two courses to sufficiently separate the walls from the ground. As the soil in the bags dries, the tamped earth hardens into what can be thought of as giant adobe bricks, flexibly formed in-place. To prep for laying the bags, I had to do a bunch of things first though:

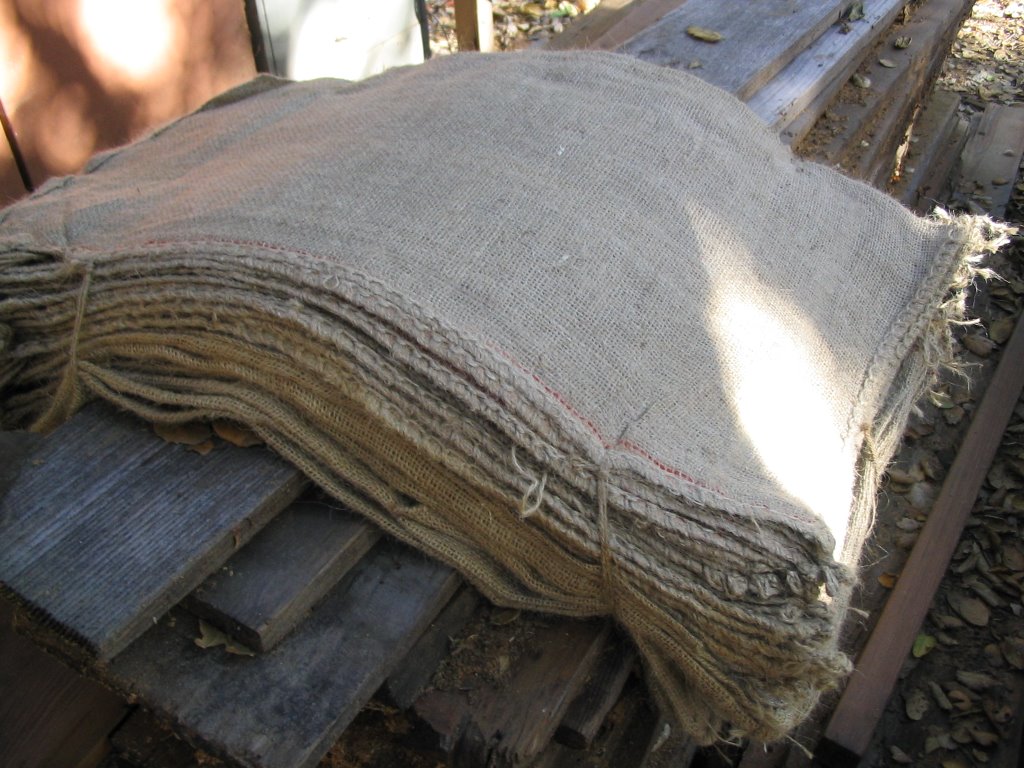
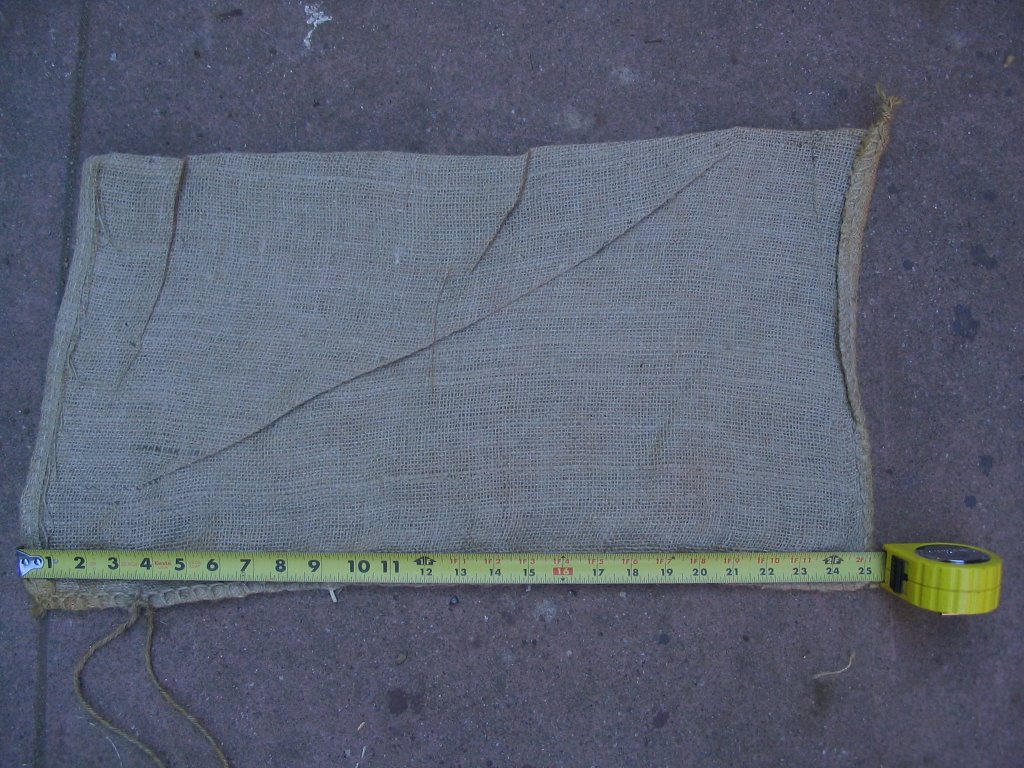
1) Get the bags. There are two types of bags that you can use - polypropylene rice bags (like the guy who built this thing: http://www.greenhomebuilding.com/riceland.htm), or burlap sandbags. Polypropylene rice bags are stronger, but burlap sacks are more natural, and there's no danger of them off-gassing. In reality the amount they would offgas is pretty minimal, so I would have probably gone with them if they were available, but to purchase them online you have to order them in quantities of 1000, and I needed only around 50. Conveniently, however, the county provides free burlap sacks to fill with sand and use as flood-control in the winter, so I just went and grabbed a bunch of those to use. Here's a photo of a stack of them:


And one bag with a tape for scale:


2) Test the soil. In order for the earthbags to work right, especially with the burlap sacks which very well may rot away, I need the right type of soil. Generally standard adobe soil will work well, but if there's isn't sufficient clay in the soil, then the bags won't hold together well and my foundation won't be solid enough.

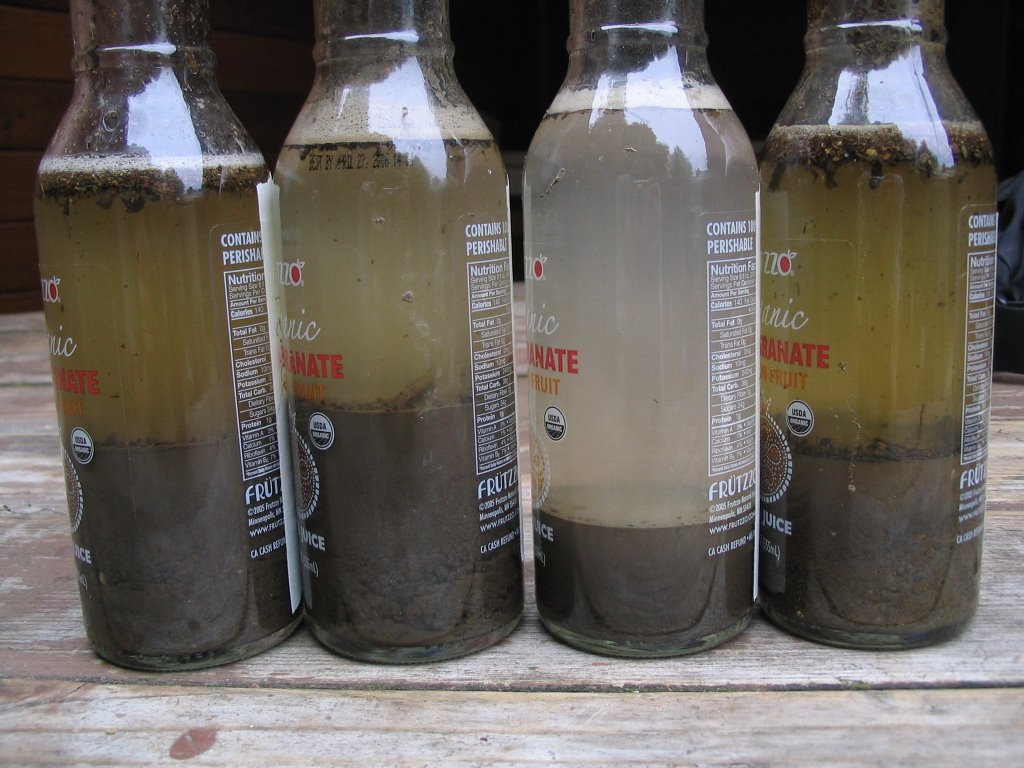
So, what then is standard adobe soil, and how do I know if I have it? Well, after some research online, I found that standard adobe soil generally has 25-40% clay content, with no organic material (roots, leaves, etc). To test the soil in the yard to see if it is the right type, I gathered some glass jars with lids, and put some soil in them with warm saltwater (why salt? I don't know, but one website I read recommended it, so I figured it couldn't hurt), shook them up, and waited for the soil to settle into layers. The sand/small rocks settle out first and form the bottom layer, then the silt settles, and finally, the top layer is the clay. I used a tape measure to see the thickness of the layers and get a percent clay content, which is right around 30% - perfect for what I need.

Here's some photos of the test, which Miko helped me with. I tested soil from four different places around the site, and found that three of the four had great soil for what I needed.


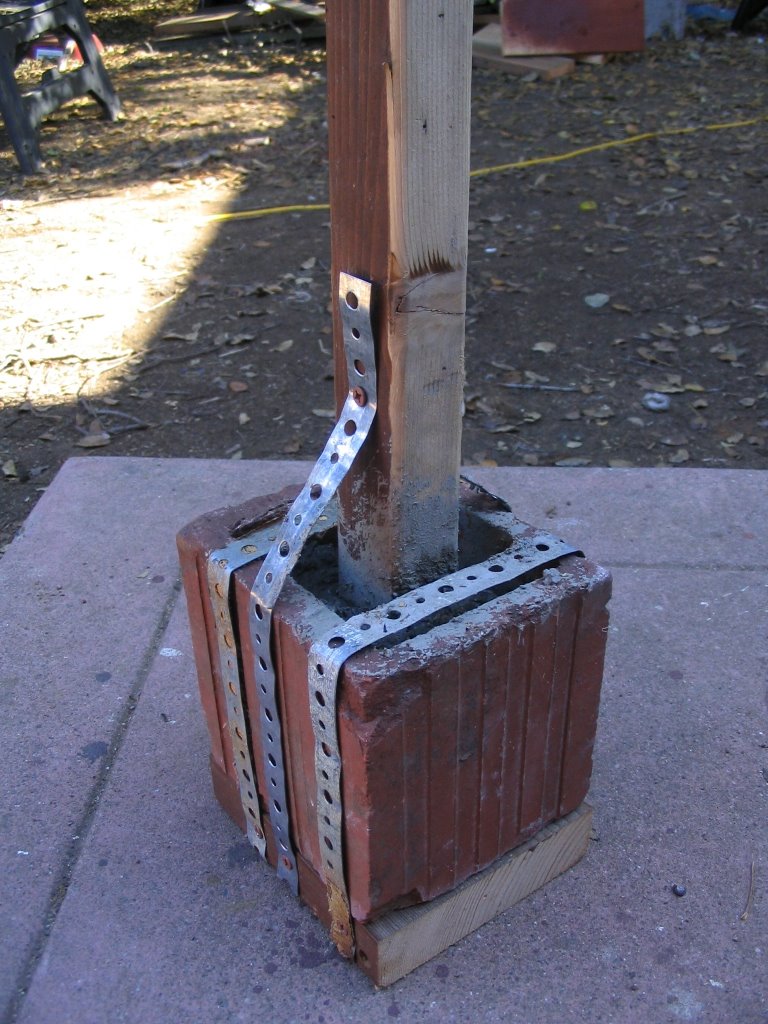
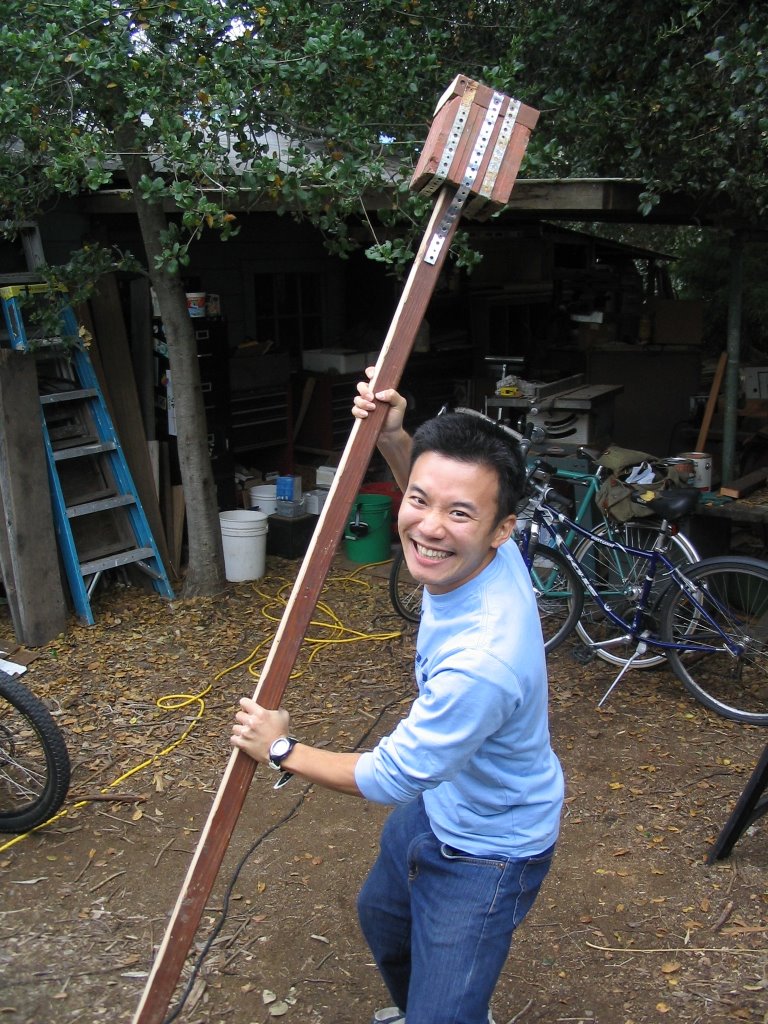
3) Make a tamper. Part of the deal with earthbags is that you have to tamp them down so that they are compact and solid. The best thing to do this with is a tamper, which is basically a heavy flat thing on the end of a pole. You can buy them at a hardware store, but they are kind of pricy for how simple of a tool they are, so I just decided to make one. Its a piece of 2x6 screwed into a wooden staff, with an open-center brick strapped onto the 2x6, and then filled with concrete.

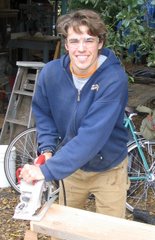
Miko and I made it after we finished getting the gravel, so here's a photo of it:


And a photo of Miko wielding it before we put the concrete into it: