1) Get the bags. There are two types of bags that you can use - polypropylene rice bags (like the guy who built this thing: http://www.greenhomebuilding.com/riceland.htm), or burlap sandbags. Polypropylene rice bags are stronger, but burlap sacks are more natural, and there's no danger of them off-gassing. In reality the amount they would offgas is pretty minimal, so I would have probably gone with them if they were available, but to purchase them online you have to order them in quantities of 1000, and I needed only around 50. Conveniently, however, the county provides free burlap sacks to fill with sand and use as flood-control in the winter, so I just went and grabbed a bunch of those to use. Here's a photo of a stack of them:
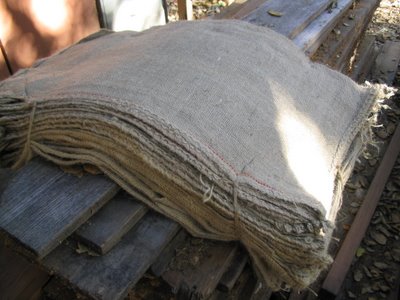
And one bag with a tape for scale:
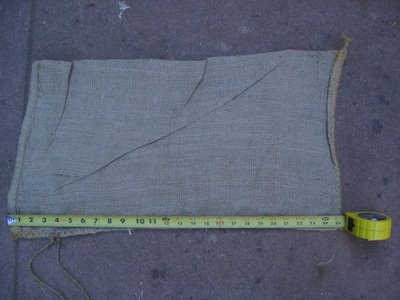
2) Test the soil. In order for the earthbags to work right, especially with the burlap sacks which very well may rot away, I need the right type of soil. Generally standard adobe soil will work well, but if there's isn't sufficient clay in the soil, then the bags won't hold together well and my foundation won't be solid enough.
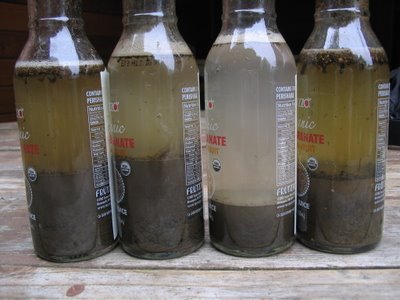
So, what then is standard adobe soil, and how do I know if I have it? Well, after some research online, I found that standard adobe soil generally has 25-40% clay content, with no organic material (roots, leaves, etc). To test the soil in the yard to see if it is the right type, I gathered some glass jars with lids, and put some soil in them with warm saltwater (why salt? I don't know, but one website I read recommended it, so I figured it couldn't hurt), shook them up, and waited for the soil to settle into layers. The sand/small rocks settle out first and form the bottom layer, then the silt settles, and finally, the top layer is the clay. I used a tape measure to see the thickness of the layers and get a percent clay content, which is right around 30% - perfect for what I need.
Here's some photos of the test, which Miko helped me with. I tested soil from four different places around the site, and found that three of the four had great soil for what I needed.
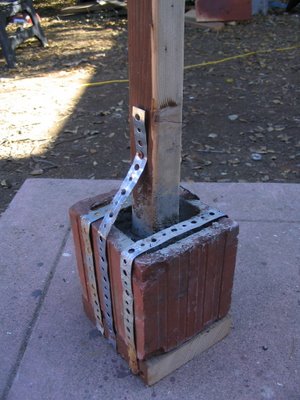
3) Make a tamper. Part of the deal with earthbags is that you have to tamp them down so that they are compact and solid. The best thing to do this with is a tamper, which is basically a heavy flat thing on the end of a pole. You can buy them at a hardware store, but they are kind of pricy for how simple of a tool they are, so I just decided to make one. Its a piece of 2x6 screwed into a wooden staff, with an open-center brick strapped onto the 2x6, and then filled with concrete.
Miko and I made it after we finished getting the gravel, so here's a photo of it:
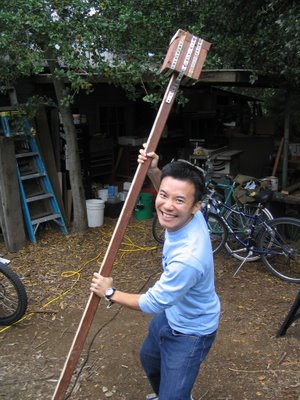
And a photo of Miko wielding it before we put the concrete into it:
No comments:
Post a Comment