Wednesday, November 29, 2006

12: Earthbags

I got both courses of earthbags in yesterday, which constitutes good progress. My housemate Jeff came and helped me for a while - here's a photo of him filling a bag:


And yes, it was cold yesterday...

So, why again the earthbags? Well, they do two things: provide a flat surface to put the wooden part of the wall on (the wood wouldn't sit very well straight on the rubble), and they separate the wood from the ground, which should prevent moisture issues.

Here's a photo of the first course of earthbags after wetting them with a hose and tamping them flat:


The contractors plastic under them will wrap up around the sides to truely separate the bags from any water coming from below. Its pretty thick plastic either 6 or 8 mil, I think. Also, it doesn't matter too much whether the earthbags align absolutly perfectly - I placed them so that the extended about 2 inches outside the string lines, and will get the building perfectly square when I put the 2x6 plates down.

After tamping the first course flat, I went around with a piece of 2x2 and made dimples in each of the bags. When I tamp the second course of bags, the top layer will fill the dimples and help lock the bags in place. Each dimple was about 1-1.5 inches deep. Here's a photo:


Here's a photo of the first course with some of the untamped second course sitting on top. I put the second course down in running bond (staggering the joints), and you can see that I've wrapped the inside plastic up and pinned it to the first course with nails:


I'll get a photo or two of the completed second course and add it here later, but for now thats all.

Saturday, November 25, 2006

11: Gratuitous climbing photos

Just because. All from my week-long climbing trip to Joshua Tree NP over Thanksgiving.

Leading "Touch And Go" (5.9):


Leading "Walk on the Wild Side" (5.7+):


Topping out "Walk on the Wild Side":


All photos taken by my buddy Jared.

10: Prepping for the earthbags

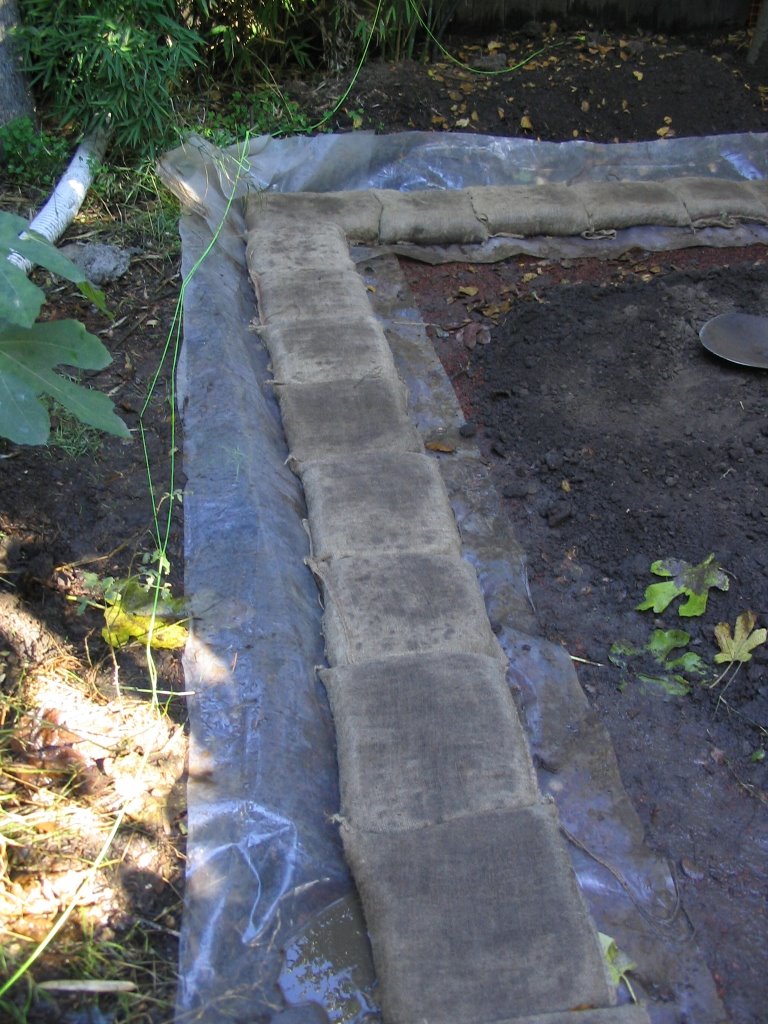
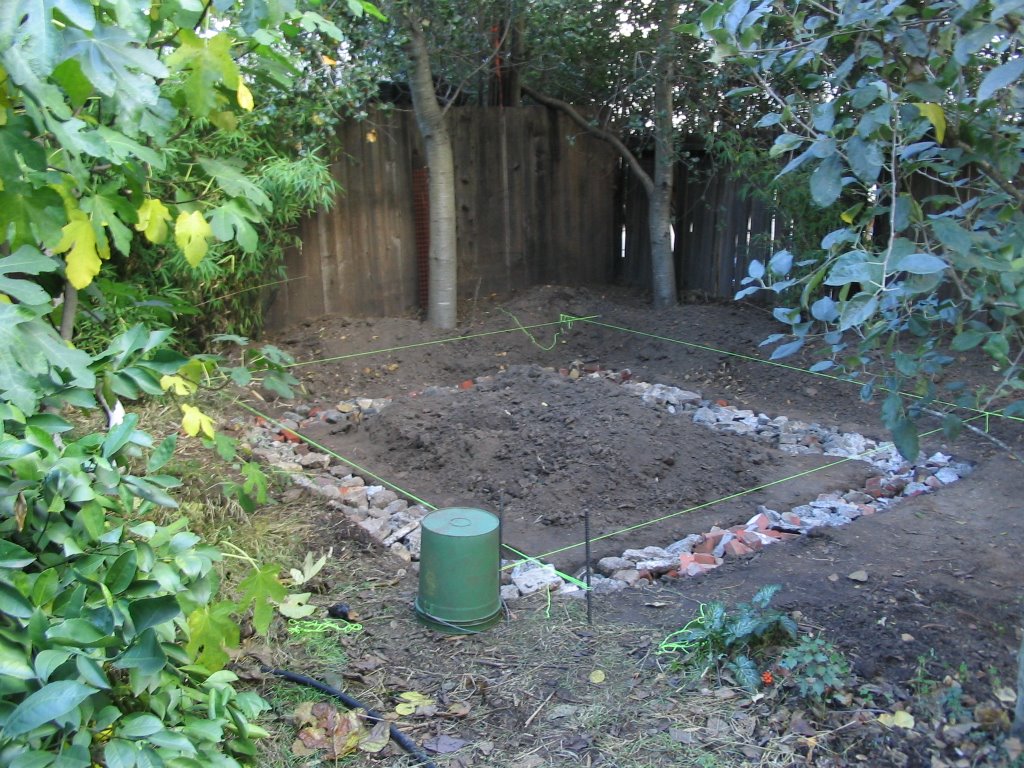
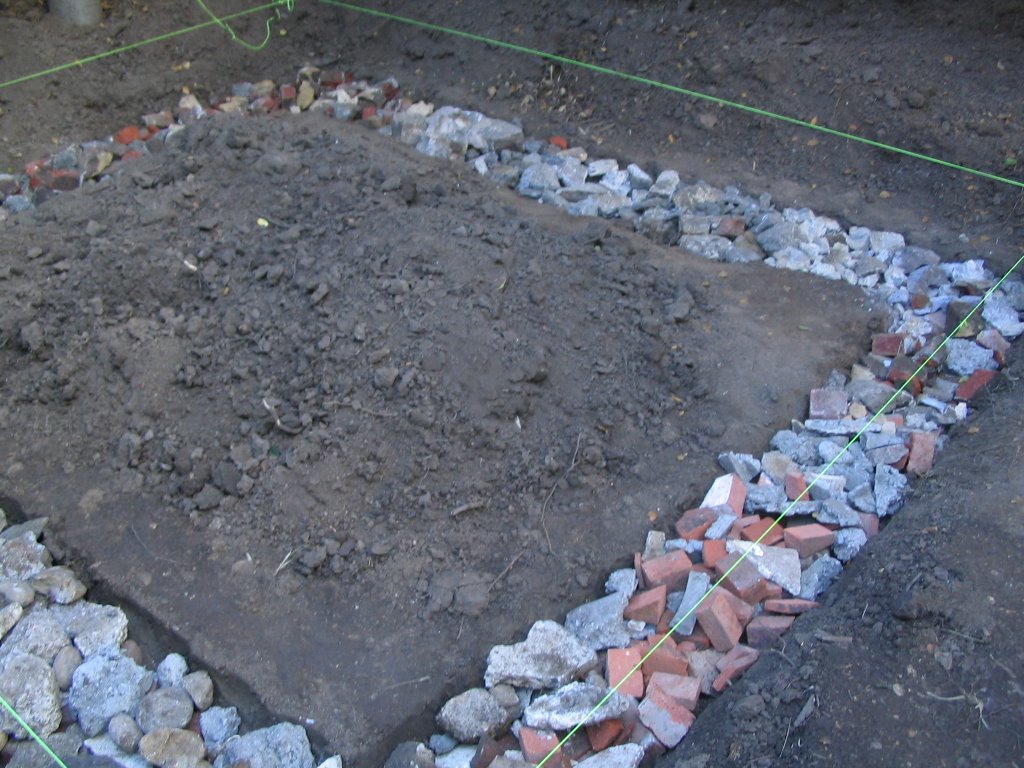
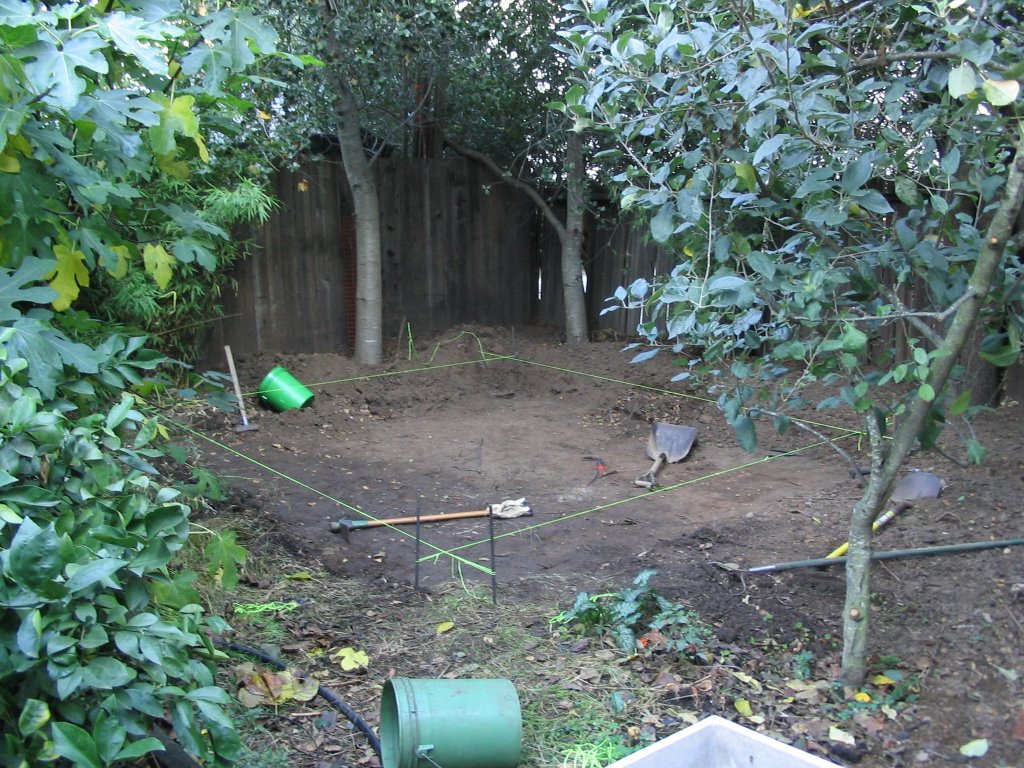
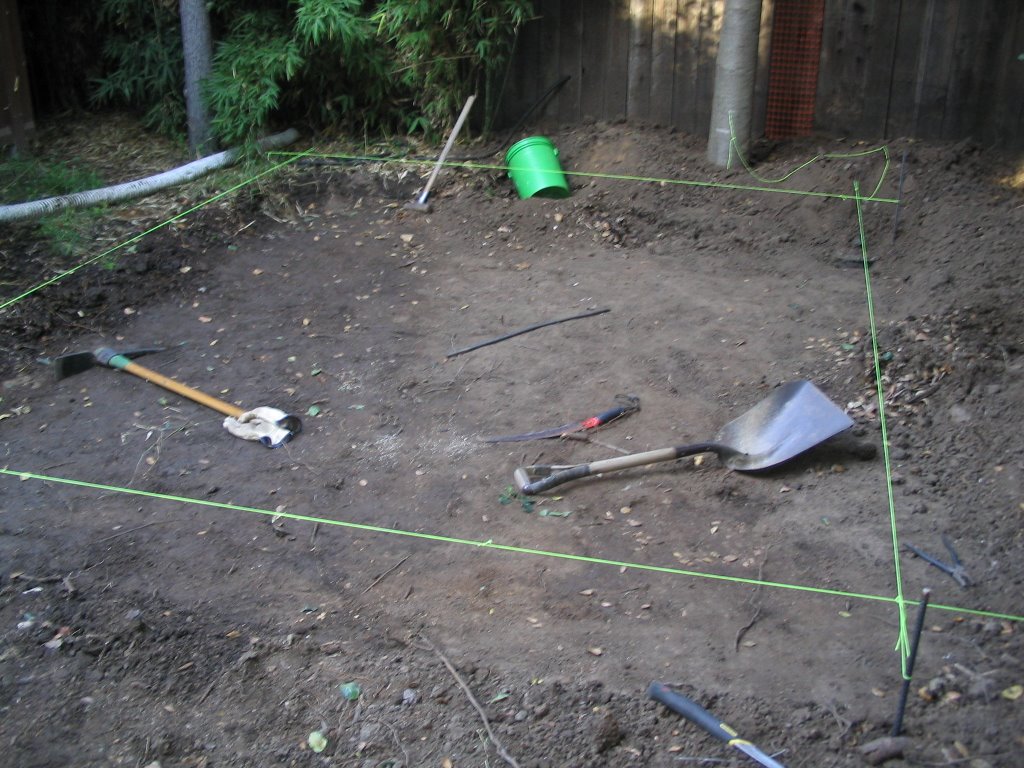
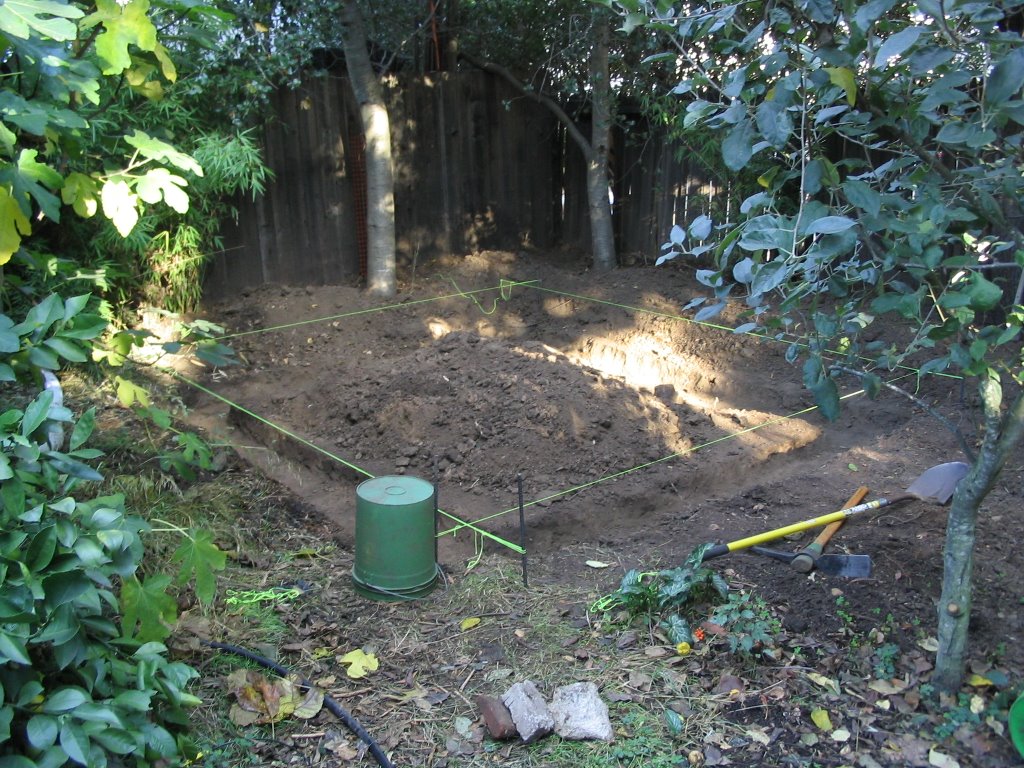
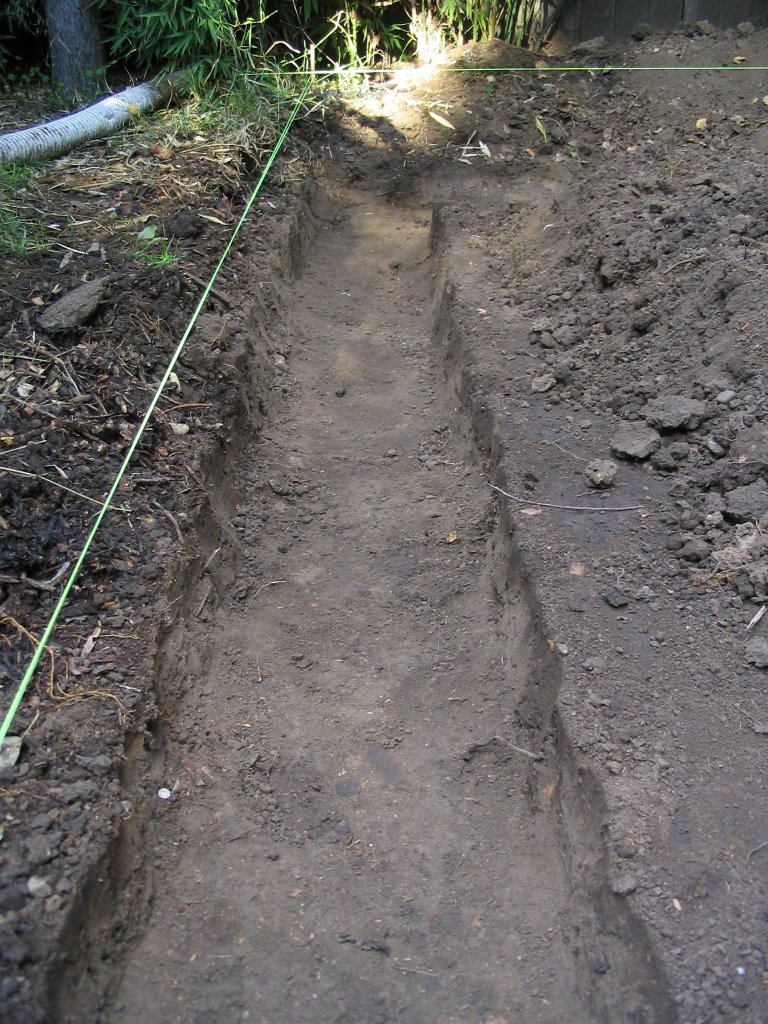
With the rubble trench finished, its time to start getting ready to place the earthbags. The theory behind the earthbags is that you fill them with moist adobe soil, lay them into place, and then tamp them down flat, generally with two courses to sufficiently separate the walls from the ground. As the soil in the bags dries, the tamped earth hardens into what can be thought of as giant adobe bricks, flexibly formed in-place. To prep for laying the bags, I had to do a bunch of things first though:

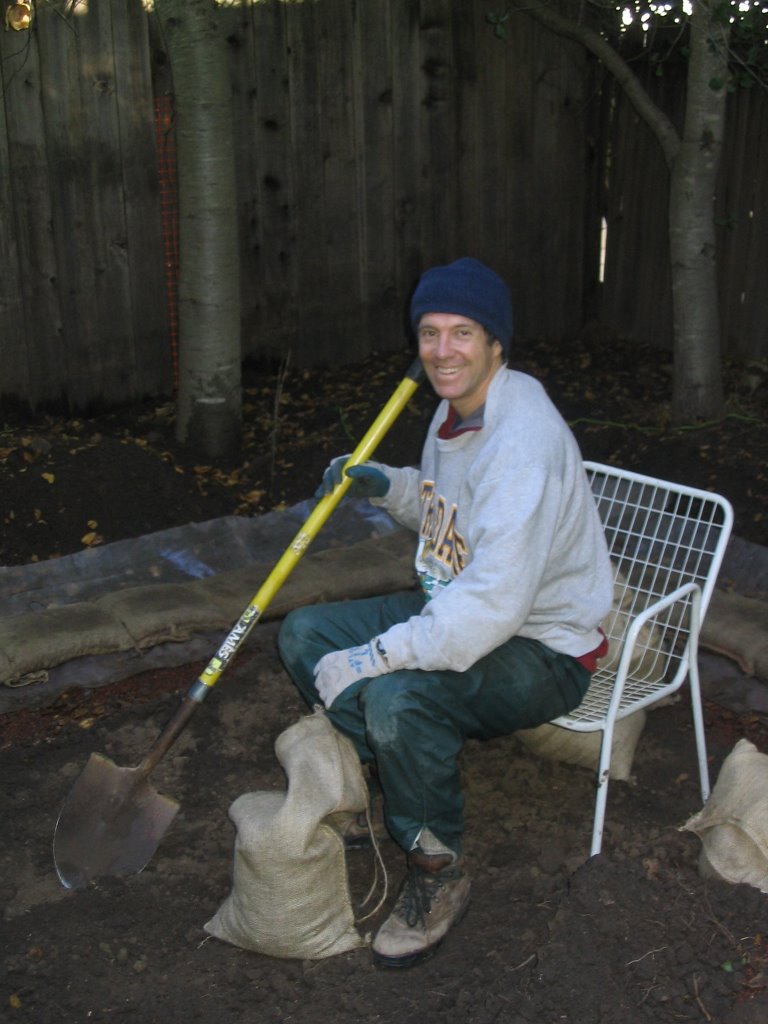
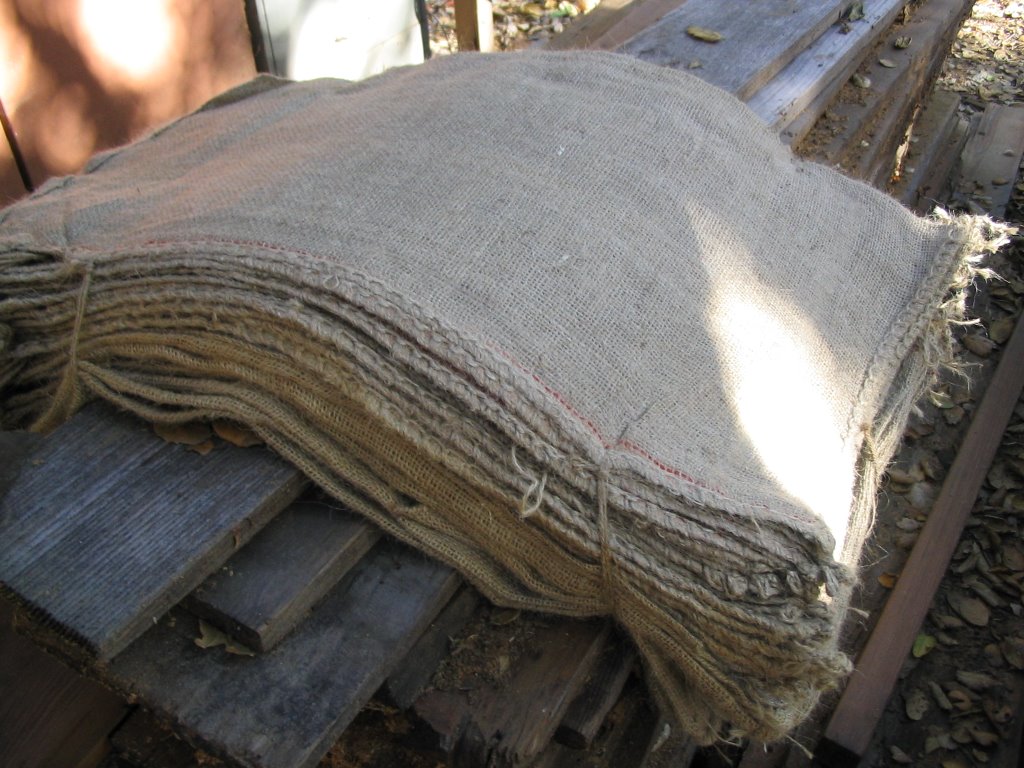
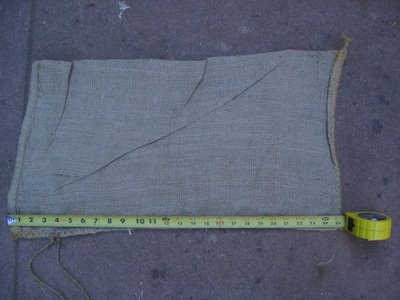
1) Get the bags. There are two types of bags that you can use - polypropylene rice bags (like the guy who built this thing: http://www.greenhomebuilding.com/riceland.htm), or burlap sandbags. Polypropylene rice bags are stronger, but burlap sacks are more natural, and there's no danger of them off-gassing. In reality the amount they would offgas is pretty minimal, so I would have probably gone with them if they were available, but to purchase them online you have to order them in quantities of 1000, and I needed only around 50. Conveniently, however, the county provides free burlap sacks to fill with sand and use as flood-control in the winter, so I just went and grabbed a bunch of those to use. Here's a photo of a stack of them:


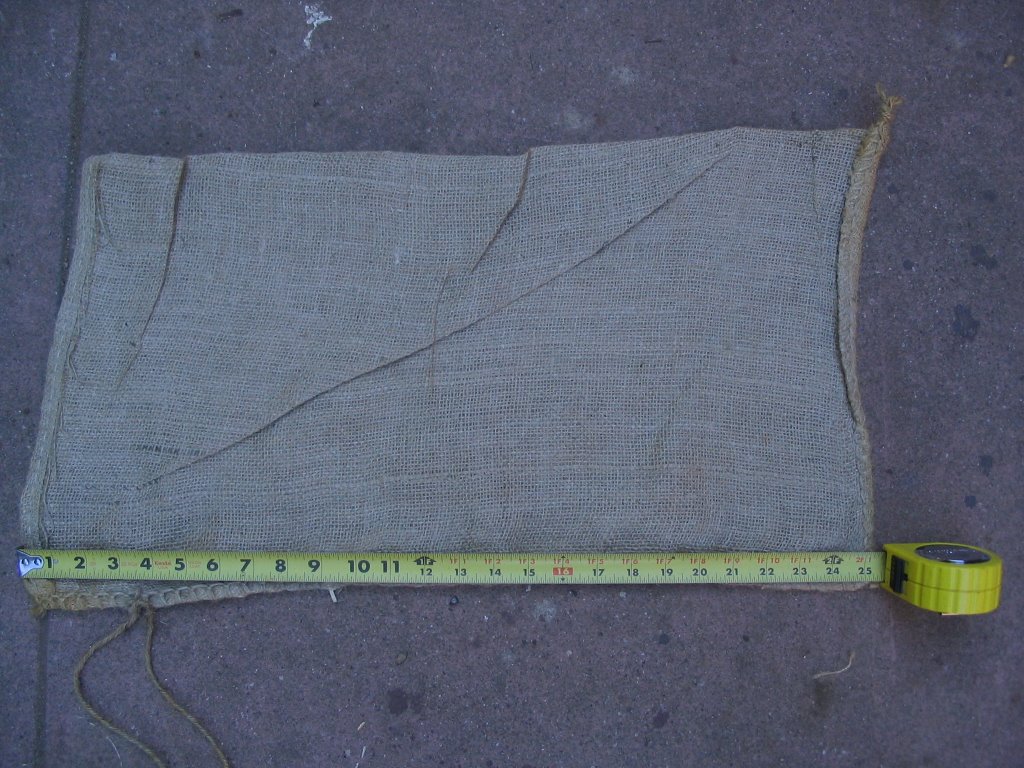
And one bag with a tape for scale:


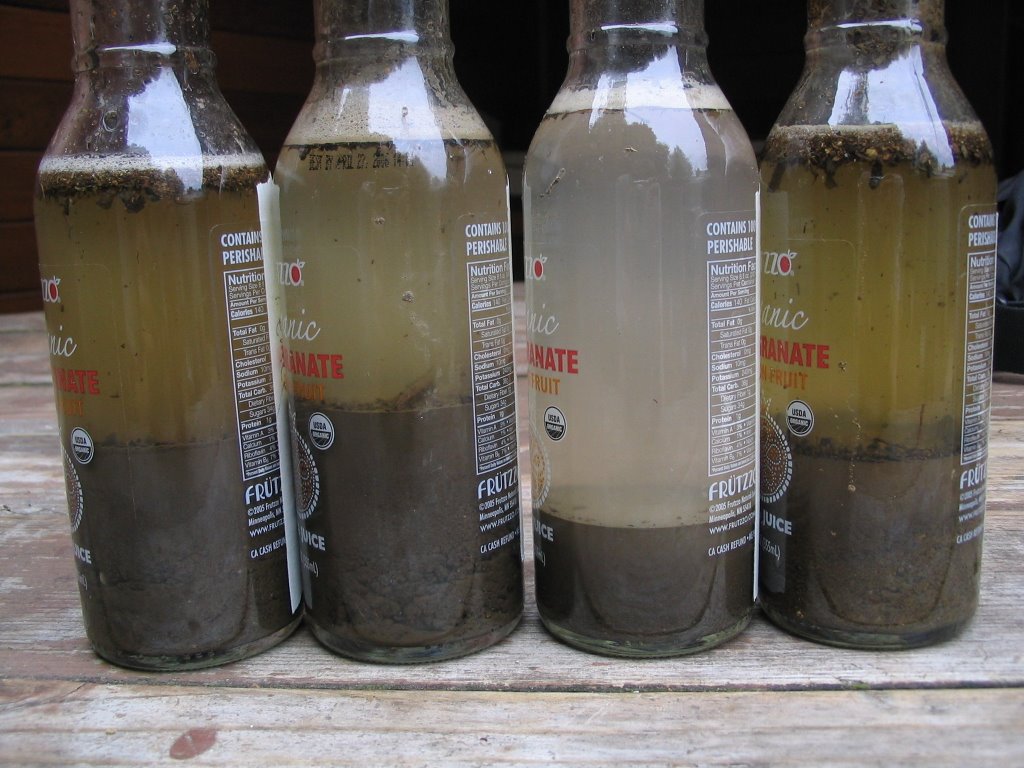
2) Test the soil. In order for the earthbags to work right, especially with the burlap sacks which very well may rot away, I need the right type of soil. Generally standard adobe soil will work well, but if there's isn't sufficient clay in the soil, then the bags won't hold together well and my foundation won't be solid enough.

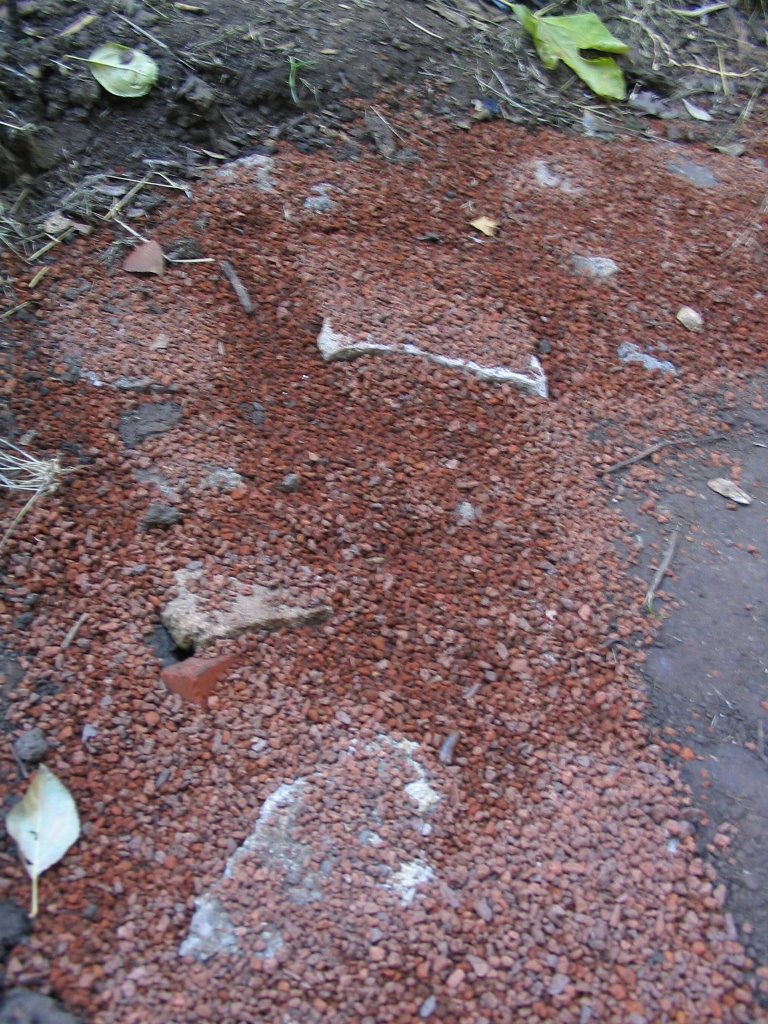
So, what then is standard adobe soil, and how do I know if I have it? Well, after some research online, I found that standard adobe soil generally has 25-40% clay content, with no organic material (roots, leaves, etc). To test the soil in the yard to see if it is the right type, I gathered some glass jars with lids, and put some soil in them with warm saltwater (why salt? I don't know, but one website I read recommended it, so I figured it couldn't hurt), shook them up, and waited for the soil to settle into layers. The sand/small rocks settle out first and form the bottom layer, then the silt settles, and finally, the top layer is the clay. I used a tape measure to see the thickness of the layers and get a percent clay content, which is right around 30% - perfect for what I need.

Here's some photos of the test, which Miko helped me with. I tested soil from four different places around the site, and found that three of the four had great soil for what I needed.


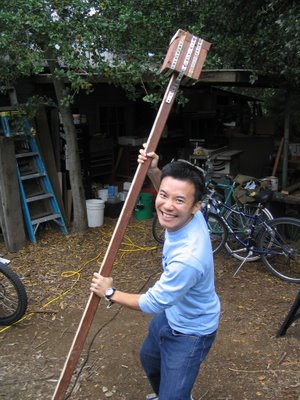
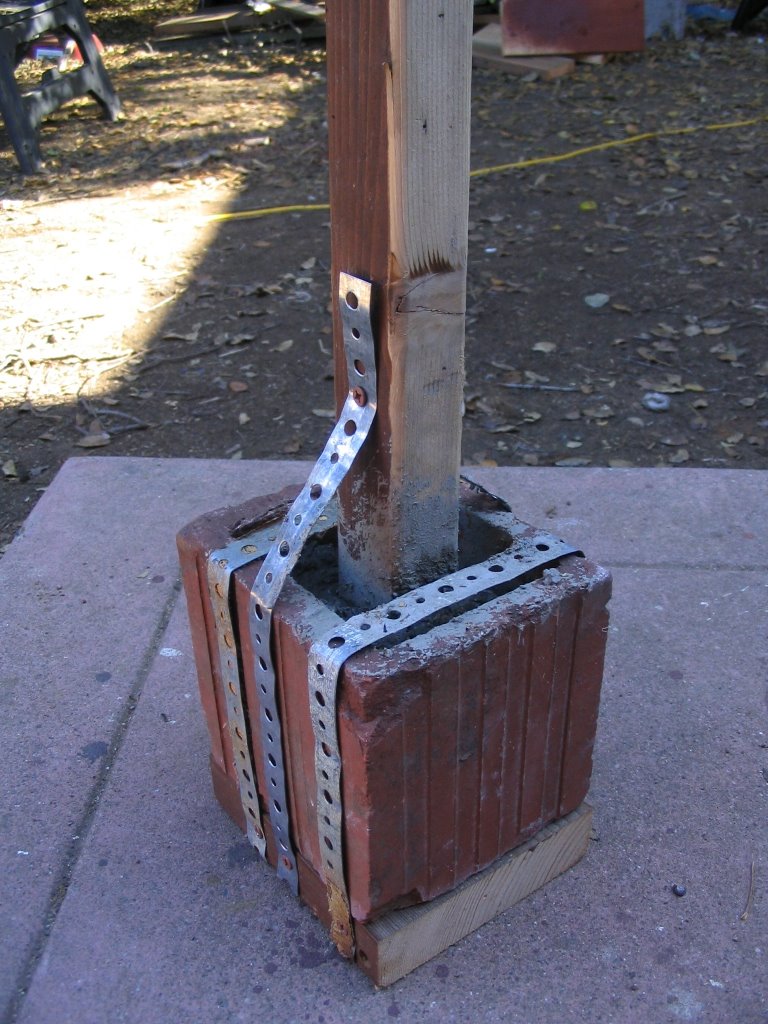
3) Make a tamper. Part of the deal with earthbags is that you have to tamp them down so that they are compact and solid. The best thing to do this with is a tamper, which is basically a heavy flat thing on the end of a pole. You can buy them at a hardware store, but they are kind of pricy for how simple of a tool they are, so I just decided to make one. Its a piece of 2x6 screwed into a wooden staff, with an open-center brick strapped onto the 2x6, and then filled with concrete.

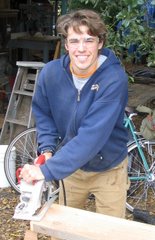
Miko and I made it after we finished getting the gravel, so here's a photo of it:


And a photo of Miko wielding it before we put the concrete into it:

9: Gravel

Alright, so my friend Miko came over to help on the project, and we went and picked up a bunch of gravel to cover the rubble with. I chose to get crushed volcanic rock, since its supposedly more insulating than standard gravel, according to this guy: http://www.greenhomebuilding.com/riceland.htm

Incidentally, his project shares a lot of similarity to mine through the foundation, but I'm doing a much different superstructure over the rubble trench/earthbag foundation.

Here's a photo of the load of gravel:


And another one, with Miko this time. He was apparently quite hungry...


Ok, a more normal one of Miko and the gravel:


And finally, one of the gravel in place, ready for the earthbags:

8: Rubble, rubble, toil and trouble...

Ahh, rubble. Also known by its mineral name: Urbanite. Universally present and ready for mining in any city or suburb, and most rural areas.

Also, a useful building material. The idea behind the rubble trench is to fill it with medium-sized rubble (2-5 inches in diameter), which (due to the spaces between the chunks) allows drainage and room for water to expand if it does freeze (not really a concern in Palo Alto, but nonetheless...). Over the rubble goes a layer of gravel to fill some of the gaps, make the rubble more stable, and provide a smoother surface for the earthbags to sit upon.

First, a photo of the raw unprocessed urbanite, ready to be broken. Most of what I used were junky bricks that couldn't be used in something like a garden path or another project. Being large bricks they needed to be broken into smaller chunks. To do this I merely placed one brick on top of two others with a gap (to form a fracture line), and then smashed them with a 40lb 6ft wrecking bar (wear safety goggles and ear protection while doing this...). Its hard work, but satisfying...


And a photo of the finished product:


Here's a photo of the rubble in the trench. I used some larger chunks of rubble (up to 5 inches in diameter) at the bottom (my size 13 foot is in the photo for comparison):


Followed by smaller chunks (2-3 inches in diameter) on top of that:


Here's a view of the trench, full of rubble:


And, another view of the finished rubble trench:

7: Grading and Trenching

I'm a little behind on posting photos (I just got back from a week of rock climbing in Joshua Tree National Park), but here's the photos of grading and trenching:

Here's a photo of the finished grading. The idea was just to get all the hummus and organic material off the site and then get down to a solid semi-flat layer of soil for the building to sit upon. I didn't pay too much attention to getting it perfectly level - that will happen when I place the earthbags on top of the rubble trench, but I'm getting ahead of myself.


And another photo of the finished grading. The strings attached to the rebar show the actual perimeter of where the house will be:


And voila, just like that a trench appears:


A closeup view of the trench. Its hard to tell from this photo, but the outside edge of the trench is actually 1-2 inches outside of the strings. I only dug it about 6 inches deep, since there is no frost line in northern California. If you were to do this kind of foundation somewhere else colder, you would have to dig the trench deeper so that frost wouldn't heave the house, although this is the same no matter what kind of foundation you are using.


And finally a photo of the corner of the trench:

Friday, November 10, 2006

6: Photos fo sho!

Here's some more photos I took today:

The completed carport:


A closeup of the carport floor (loose laid brick with sand infill that has yet to be swept away):


The view from the garden path. I've finished about half the excavation, which is only to get down to the solid dirt so I'm not buillding on duff and such. After finishing the leveling, I'll dig the trench for the rubble-trench foundation. This view is about the same as the "view from the garden path" in the final design post below, except its real life:


Finally, the pile of rubble for the rubble trench. I'm not sure if I'm going to need any more than this...:

5: Final(ish) design

Ok, so here's the update - we finished the carport, and I (mostly) finalized the design for my little place and even started preparing the foundation to boot. I may still tweak it slightly, but here's the design as it stands now:

In the last version of the design that I posted here I was still somewhat in build-it-quick-and-dirty mode, and as a result there were some pieces of the design that were a little silly, like the funny shape (which was based on how I could put together a floor with minimal cutting of 4x8' sheets of plywood). Since I switched over to a no-plywood floor, I am no longer constrained to putting together 4x8' blocks, and as such moved up to a full 10x12' structure.

The second biggest change was I again rotated the structure by 90°, this time because there are some height limits near the edge of the property that I couldn't get around if the slope of the roof went the other way (hard to explain without actually showing...). In an effort to keep this succinct, I'll leave it at that.

The final major change was that I added a porch, which is technically not part of the structure (as far as the city is concerned), but will be added at the end. So, without further ado, here's the latest, and greatest design:

This is the view from the garden path -basically the front of the house. This view is looking more or less northeast:


This view is looking south, maybe slightly southeast:


And finally, here is the floorplan. The desk is the long brown object, the windows in the walls are blue, the door is brown, the bed is cream, the seating underneath (and supporting the bed when its lowered down for sleeping) is tan, the shelving in the closet is red, the dresser is orangish-tan, and the green is the partition wall that forms the closet: